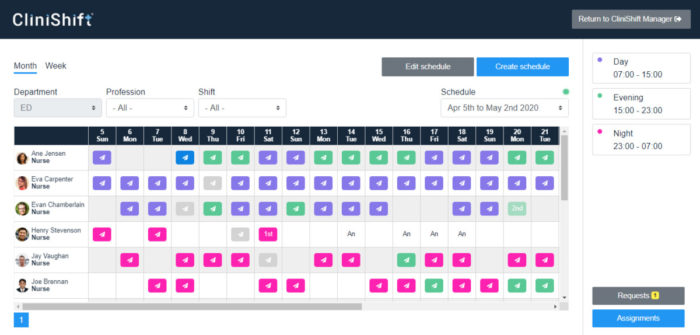
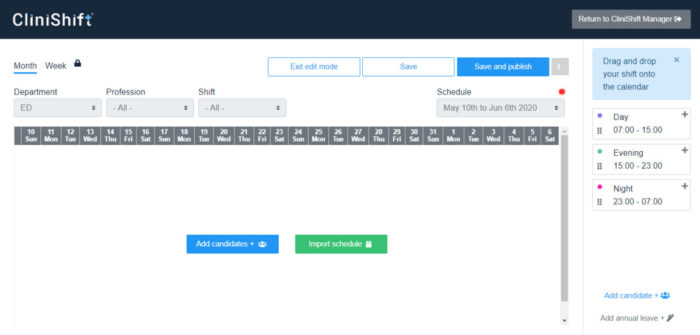
To create a new schedule select the option “Create schedule”a new window will appear and provide you with the options to choose the department you wish to create a new schedule for, and the time period. Please note that schedules are made in 4 week blocks and begin on a Sunday, so in the “start” section select the Sunday from which to start the new schedule. Once you select the starting Sunday, the dates corresponding to your 4 week period schedule will appear (as per image) ‘This schedule will run from: May 10, 2020 to June 6, 2020’ to confirm this is the period you wish to create a new schedule for select ‘Create new’ at the bottom right.

The period is now created and you will have two options to populate your schedule, as follows:
*Note the period you created the schedule will appear in the ‘Schedule’ box and will show the red mark, corresponding to not published. It will appear blank and the functions to ‘Edit Schedule’ will be enabled. To proceed please follow the following instructions
- ‘Add Candidates’ – manually select the staff members and allocate them shifts, as per ‘Edit schedule’ functions.
- ‘Import Schedule’ – a menu of previously published schedules will appear and you can select the period you wish to copy and select ‘import schedule’, all candidates and shifts for the selected period will be replicated to the new schedule. For this option you can also edit and adjust the staff and shifts manually, where needed by using the standard ‘Edit Schedule’ functions.

When a new schedule is created, you are automatically on ‘Edit Schedule’ mode and can proceed with the relevant actions. If you ‘Exit edit mode’ without adding candidates or importing a schedule, the schedule (period) will still be created, and will appear on the list of ‘Schedule’ as an unpublished schedule, and can be edited at any time.
